Here is how I turned from blowing up 7 accounts to finally being a profitable trader. Learn all these and you’re good to go (no I don’t provide coaching, sorry):
– Support & Resistance Indicator
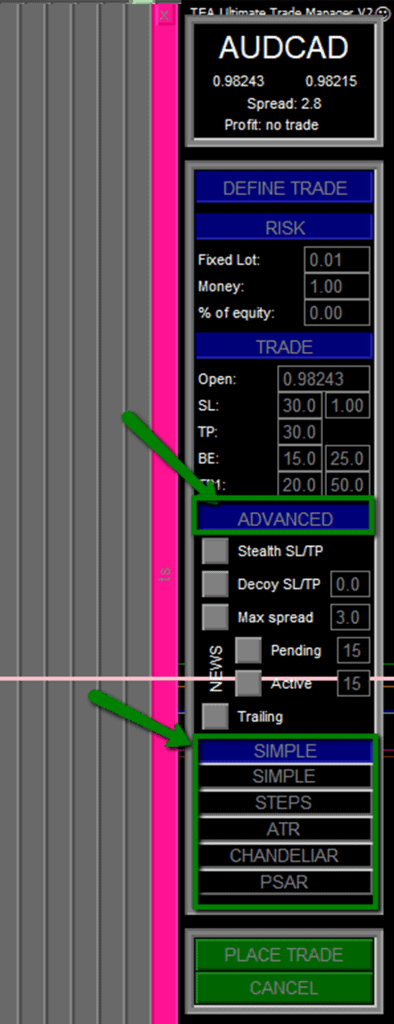
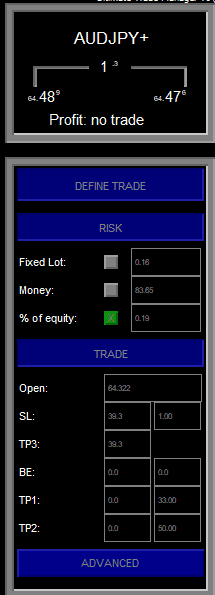
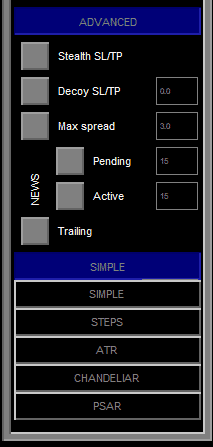
– MT4 Trade Manager
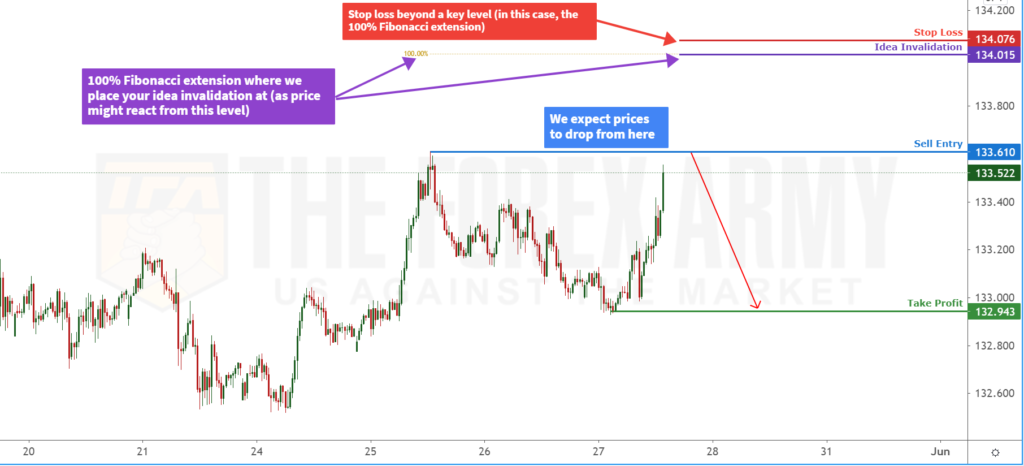
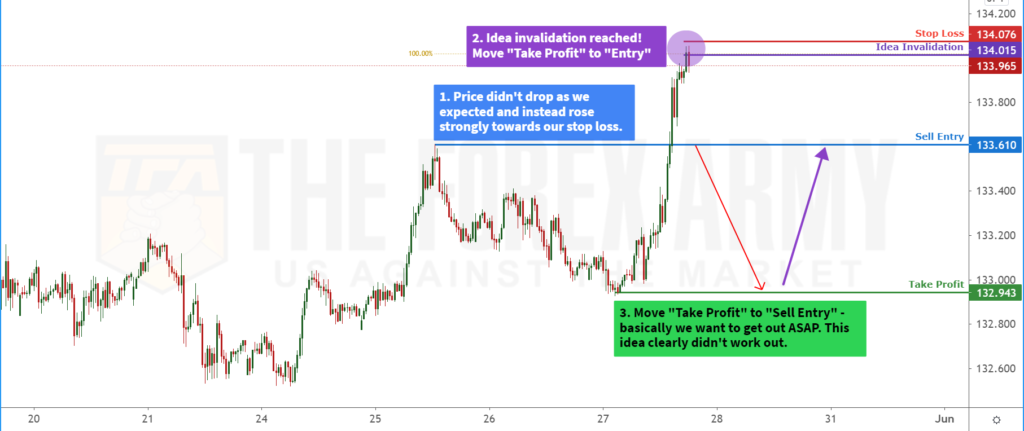
– Fibonacci Retracement Guide
– True RSI
– True Stochastic
– Candlestick Patterns Indicator